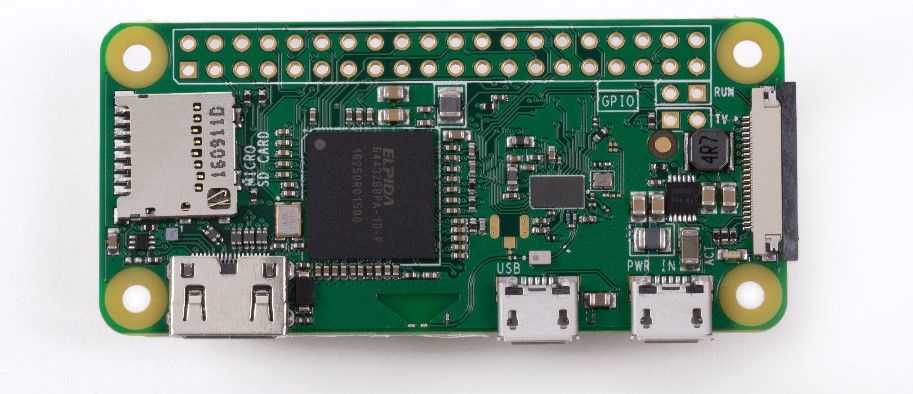
I wanted to run the Ghost blog to start blogging articles, and just purchased a Raspberry Pi Zero W from Core Electronics Australia. I thought that this would be the perfect platform while still starting out, before I shell out for the Ghost Pro hosting.
While Google searching, I couldn't find any Pi Zero related setup instructions, however plenty of Pi related setup instructions. Also, while running the commands in the instructions, I had to modify some in order to get it working. As such, I felt it necessary to write this Pi Zero related tutorial, in case others want to try and set it up on the Pi Zero.
OK, lets get started.
I found a great tutorial at GhostPi.Pro, which I used as the basis of my setup, and for the most part, it works for the Pi Zero. However, there are some minor details that I would like to highlight. I will reference specific tutorial pages as they were used.
Getting Started 1
In the GhostPi tutorial, they reference the Armv71 code for Node.js, however when I actioned this and ran it, I got Segmentation fault. Googleing what this meant, I found that it is wrong code architecture, so I ran uname -a and found that it is actually armv61. Checking the code repository, I found the armv61 specific code, and used it as per the code below.
wget https://nodejs.org/download/release/v4.8.0/node-v4.8.0-linux-armv6l.tar.gz
sudo mv node-v4.8.0-linux-armv6l.tar.gz /opt
cd /opt
sudo tar -xzf node-v4.8.0-linux-armv6l.tar.gz
sudo mv node-v4.8.0-linux-armv6l nodejs
sudo rm node-v4.8.0-linux-armv6l.tar.gz
sudo ln -s /opt/nodejs/bin/node /usr/bin/node
sudo ln -s /opt/nodejs/bin/npm /usr/bin/npm
Run node -v and it showed v4.8.0.
Then I downloaded the latest version of Ghost.
cd ~
wget https://ghost.org/zip/ghost-latest.zip
sudo mkdir /var/www
sudo mkdir /var/www/ghost
sudo unzip -d /var/www/ghost ghost-latest.zip
cd /var
sudo chown -R pi:pi www/
cd /var/www/ghost
npm install --production
sudo npm install bcrypt && sudo sed -i "s/require('bcryptjs')/require('bcrypt')/" core/server/models/user.js
cp config.example.js config.js
The line regarding Bcrypt was due to something I found in another page I looked at, 2 but that also was in a later page on GhostPi.
Please also note that when you run the line npm install --production, this will take a looong time. It took about 20-30 minutes when I ran it. This seems to be because it couldn't download a compiled binary for sqlite, so fell back to source compiling.
node-pre-gyp install --fallback-to-build

node-pre-gyp ERR! Tried to download(403): https://mapbox-node-binary.s3.amazon aws.com/sqlite3/v3.1.8/node-v46-linux-arm.tar.gz
node-pre-gyp ERR! Pre-built binaries not found for [email protected] and [email protected]. 0 (node-v46 ABI) (falling back to source compile with node-gyp)
At this stage, I also edited the config.js file so that it responded to the IP address the Pi was running on and tested that it was actually working. Feel free to skip this if you want, I haven't included it in the code snippets.
Installing persistence 3
As per GhostPi, they use supervisor, so I used it to go with the tutorial, however if you have another preference, then you can use that. On AWS and Azure instances I played with previously, I have used others.
sudo apt-get -y install supervisor
cd /etc/supervisor/conf.d
sudo nano ghost.conf
In the ghost.conf file, add the following lines.
[program:ghost]
command = node /var/www/ghost/index.js
directory = /var/www/ghost
user = pi
autostart = true
autorestart = true
stdout_logfile = /var/log/supervisor/ghost.log
stderr_logfile = /var/log/supervisor/ghost_err.log
environment = NODE_ENV="production"
Then import the config and restart supervisor.
sudo supervisorctl reread
sudo supervisorctl update
Installing Nginx 4
In order to access the website via domain name, we need to use Nginx. First, we need to install from Apt and then edit the config.
sudo apt-get -y install nginx
cd /etc/nginx/sites-available/
sudo nano ghost.conf
update the contents of the ghost.conf file, changing server_name to match your domain name:
server {

    listen 80;
    server_name my-ghost-blog.org;

    location / {
        proxy_set_header   X-Real-IP $remote_addr;
        proxy_set_header   Host      $http_host;
        proxy_pass         http://127.0.0.1:2368;
        client_max_body_size        10m;
    }

}
Then once that is done, we need to make a symlink for the conf file, and restart the service.
sudo ln -s /etc/nginx/sites-available/ghost.conf /etc/nginx/sites-enabled/ghost.conf
sudo service nginx restart
Now we need to edit the Ghost config.js file to include your domain name. 5 This needs to go into the production URL section
cd /var/www/ghost
nano config.js
While you are there, you can also edit it to be listening on https.
Cloudflare
I also use and recommend Cloudflare. This helps mitigate against DDOS attempt, and can cache requests, reducing bandwidth usage. It can also ensure that you have SSL, and it can force SSL communication between your blog and Cloudflare by deploying an origin certificate. 6
Enter the IP address details into Cloudflare, and wait for it to sync. The Ghost Server should now be available for access on your domain name.
Set up SSL on Cloudflare 7
Through your Cloudflare portal, generate an SSL origin certificate and download the detail to the Pi
Extra Security 8,9
Now we will add some security lines into the header via Nginx.
sudo nano /etc/nginx/sites-available/ghost.conf
add following lines to the top of the ghost.conf file:
add_header X-XSS-Protection "1; mode=block";
add_header X-Frame-Options "SAMEORIGIN";
add_header X-Content-Type-Options nosniff;
Also while you are there, add the line to change the default file size so that you can upload larger themes, as I found that I couldn't upload my theme file.
client_max_body_size 10m;
Restart nginx
sudo service nginx restart
Test site working with certs
Set up mailgun integration10
Before you can add account/s to be able to author articles, you need to be able to send mail. So I use mailgun to action this. So in order to get this working, please add following to production section of config.js with mailgun user and pass
mail: {
transport: 'SMTP',
    options: {
        service: 'Mailgun',
        auth: {
            user: 'postmaster@domain',
            pass: 'password from mailgun'
        }
    }
}
After all of this, your Ghost Blog is good to go. Set it up using https://my-ghost-site.org/ghost, obviously changing my-ghost-blog.org to your site name.
Find a site theme that suits your style. I like the look of Troy Hunt's blog, and it was his article that got me to investigate using Ghost as a blog platform. In that blog post, he explains how he has put his theme up on GitHub, so I downloaded a copy and modified it to suit the way that I wanted my page to look. So at this stage, the theme is based on his theme.